How to Set Up for a Strong Garlic Season
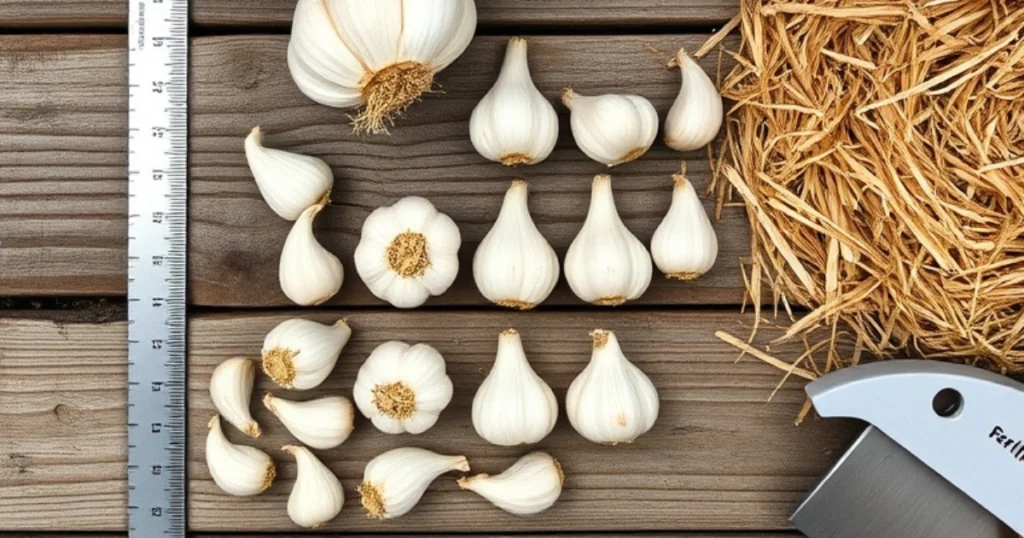
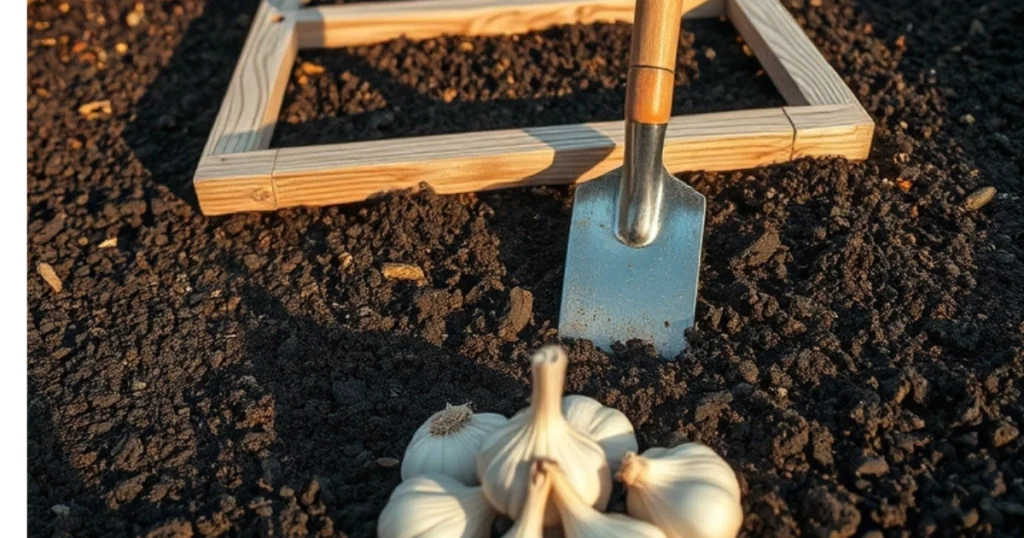
Growing garlic in raised beds has improved my harvest more than I ever expected. After years of small bulbs and discouraged attempts, I followed proper fall planting methods and focused on spacing, fertilizer, and moisture. In my zone 3b garden, I start preparing wide beds in October. I dig soft soil down about 8 inches, mix in compost, and planting begins. Each garlic clove is set 2 inches deep and 4 inches apart using a wood frame and a spacing frame for orderly planting. I prefer certified, nematode-free, hardneck types like German White, planted in rows, each clove with the tip exposed and the pointy end up. Snow beds, quack grass, and deep roots led me to use raised beds as a cleaner solution.
Getting the Timing and Mulch Right
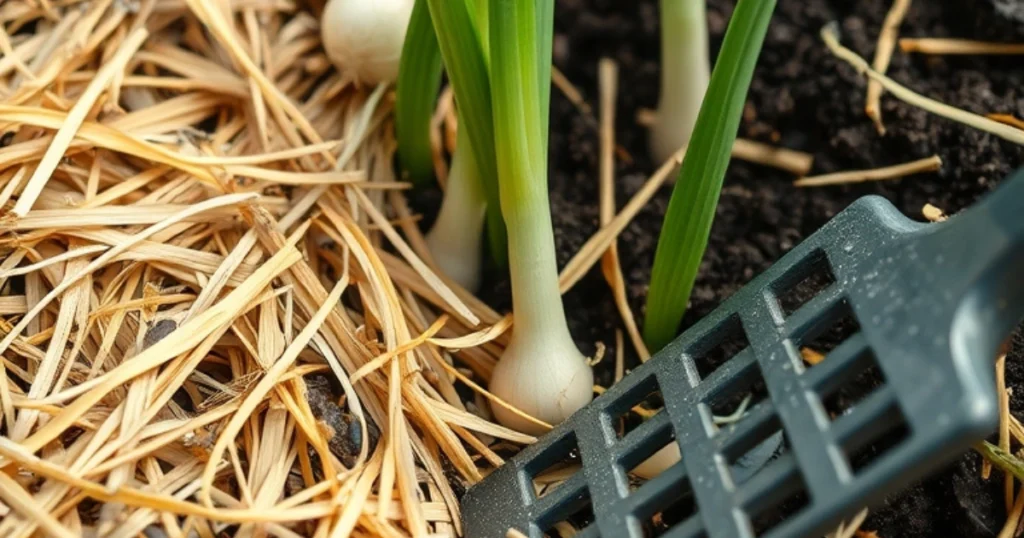
When planting late in mid-October or even late October, I cover the beds with mulch from dry leaves, straw, or grass clippings, layering 3-4 inch layer thick. In warmer weather or if there’s no snow, I’ve seen better results by adding extra covering to help maintain cold exposure. During winter, the bulbs stay covered, safe from frost and freezing temperatures. By spring, sprouts begin sprouting out of the ground, and I pull off just enough mulch to let the green shoots reach daylight. In early May 20 or sometimes June 15, I side-dress with bone meal and water deeply using soaker hoses set in each row. A good routine of watering weekly and watching for weed control leads to efficient beds and fewer problems.
Encouraging Growth and Getting Ready to Harvest
As the garlic grows, I notice sprouted cloves pushing through nicely, and by harvest time in late summer, the leaves begin to yellow and lean. I aim to harvest before sun scald can reduce the storage life, always drying them in a shaded and dry location. For high yield, it helps to use tools like a three-prong cultivator, and check your crop for maturity before cutting the tops. The layers of mulch and good rotation with crops like onions or others from the same family help avoid disease. After harvest, I save each bulb and seed for next season, storing some in white vinegar, ready to plant again. I’ve learned that vernalization—letting cloves go through 0 C to -3 C (32F to 26.6F) for two to three weeks—is necessary to grow a huge bulb, especially if you’re using store-bought seed. With this method, each garlic clove grow effort turns into a reliable, fruitful result and helps me master which types of garlic really thrive.

Final Steps for a Strong Harvest
To grow garlic well in a raised bed, aim for 2 to 4 inches deep of loosened soil with good drainage, especially in areas with heavy clay soil; fall is the best time and an excellent time to plant for better growth. I separate the bulb into individual cloves, keep the paper skin intact, and place each one pointy-side up, spaced 4 to 6 inches apart or 8 inches apart for largest bulbs—that’s about 36 plants or 64 plants total in a 4×4 foot bed, depending on your spacing needs. I always cover soil with straw, mulch, or leaves after planting to help roots establish before the ground freezes. Avoid planting garlic near Asparagus, Peas, Beans, Sage, Parsley, or others in the allium family like leeks, onions, and chives as they attract pests or can be negatively affected, just like some collard greens flowers or broccoli in garden beds.