Best Fertilizer for Garlic: Expert Tips for Huge, Aromatic Bulbs
Just like I once learned how to grow brussel sprouts, figuring out how to grow garlic taught me that success starts with the right garlic fertilizer and ends with fat bulb harvests. Garlic is a heavy feeder with a long growing season, needing a steady draw of soil nutrients to truly grow garlic successfully. Whether you’re working in Papa’s garden or your own garden, you must choose fertilizer that fits your soil, enhances soil fertility, and avoids potential problems like yellowing foliage, weedy plants, or soft bulbs. Smart gardeners know it’s not just what you apply, but also when to apply and how to apply fertilizer that makes the most impact. Through my own gardening journey, I’ve found that the right types of fertilizer can turn any clove or seedstock into large bulbs, full of quality and flavor. Don’t take a plant-and-forget approach—understand how to fertilize, learn how to grow garlic, and give your garlic in the home garden the nutrients it craves. With an effective fertilizer and balanced approach, any crop of garlic can result in productive plants and the maximum benefits of garlic, straight from functional soil to flavorful dishes.
Why Fertilizing Garlic Matters from the Start
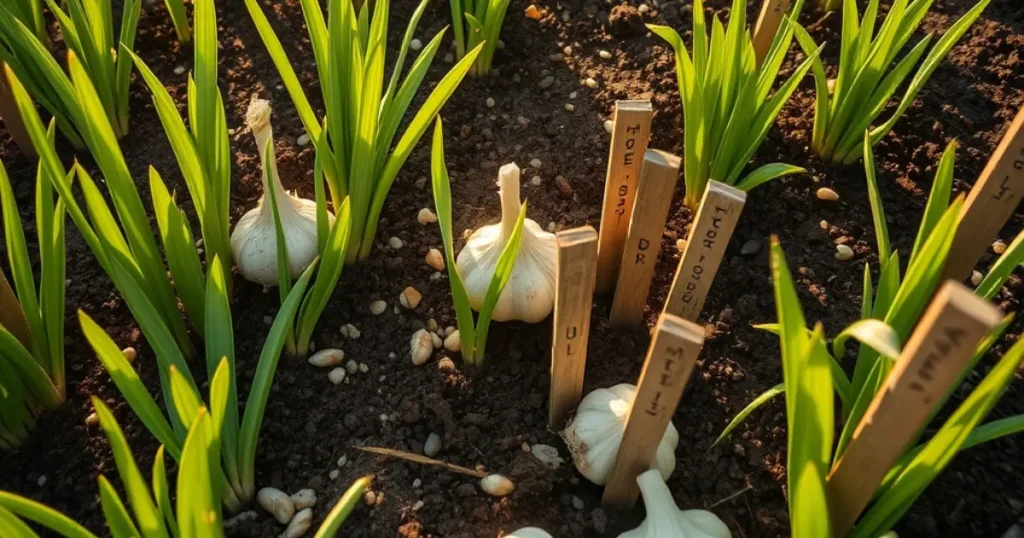
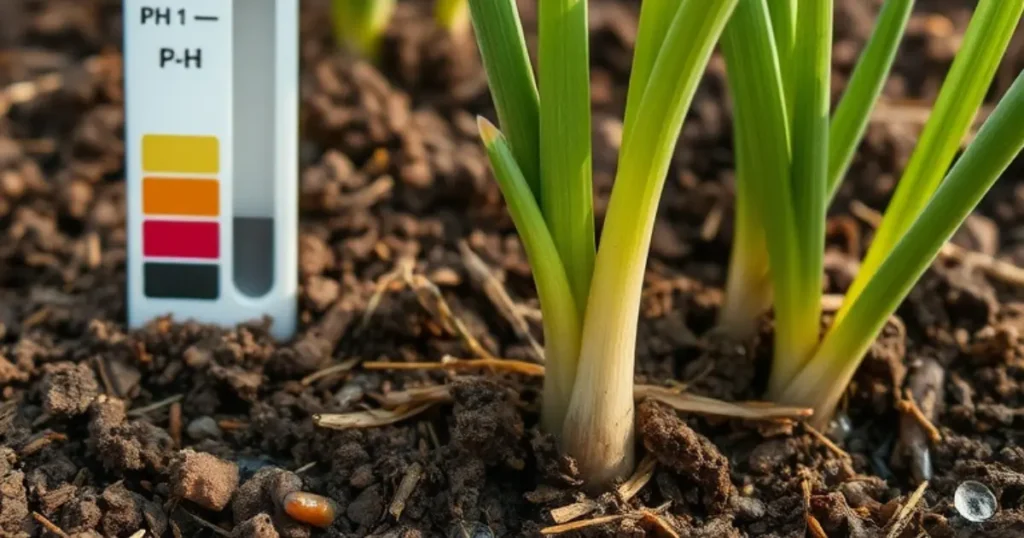
When I first tried planting grocery store garlic in my garden, I wrongly assumed it would grow strong without much care—but skipping fertilizing garlic led to weak bulb formation and smaller at harvest results. Garlic is a heavy feeder and needs high levels of soil nutrients throughout its long growing season, especially in spring planting where spring planted bulbs don’t get the winter rest to set roots and store energy. From the cool months when you first plant a clove, garlic begins to form, pushing out green shoots, building strength—it’s crucial to start with good nutrition. Whether you’re feeding garlic with fertilizers based on a soil test kit or a home soil test kit, it’s necessary to test your garden soil and know its nutrient levels, especially nitrogen, which garlic depends on. I always choose to get my soil checked through the local extension because good soil nutrients from the beginning help garlic thrive and reach optimum levels. Without steady nutrition, even healthy garlic plants might not flourish or reach full fruition. Garlic won’t survive in poor soil, and depletion happens fast when you remove vegetative material during harvest, especially with back-to-back garden crops. If bulbs are not exposed to maximum nutrition, your hard efforts may fall short. To get the best out of your plants, always make sure they’re exposed to proper feeding, especially when planting grocery store garlic, which often needs extra care to thrive. Garlic needs strong roots, full cloves, and balanced nutrient levels from day one—because every choice you make, from the type of crops you choose, to how you build energy in the plant matters for a successful harvest and strong result.
Fertilizer Types That Work Best for Garlic Growth
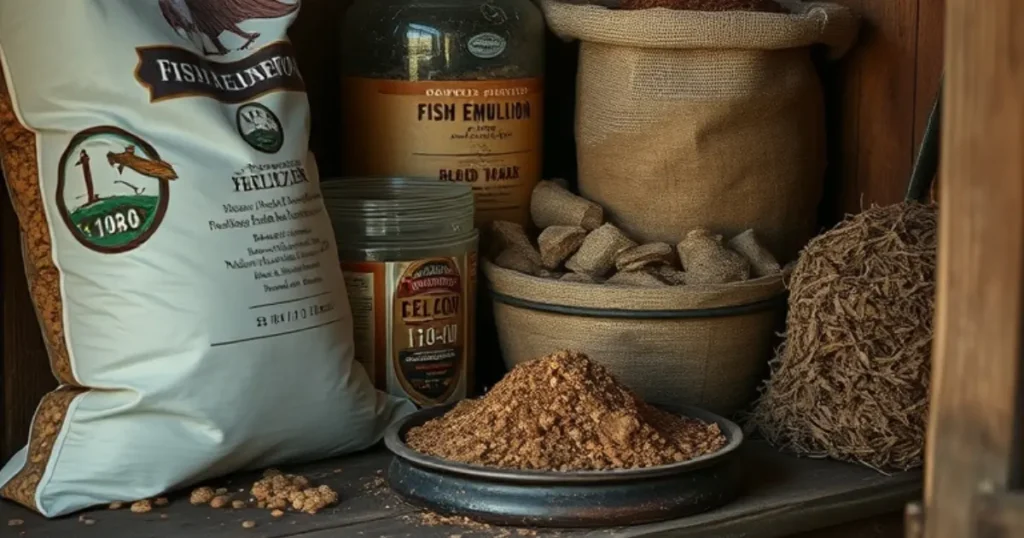
From garlic-specific to homemade fertilizer, I’ve tested everything from fish emulsion to composted cow manure made in our dairy-farming family with grass fed cows, just like Papa did. For stronger garlic crop, I prefer chicken manure fertilizer or balanced granular fertilizer like 10-10-10, which is both organic gardening friendly and high in nitrogen. Products like Espoma’s Chicken Manure, blood meal, and Down to Earth Fish Meal are natural fertilizers that help with bulb development, especially in spring when plants need more nutrients and leafy green growth. Mixing a bit of peat moss and potting soil—and understanding is peat moss acidic—also improved how I incorporated bagged options into my soil for maximum growth.
Proven Techniques to Fertilize Garlic Effectively
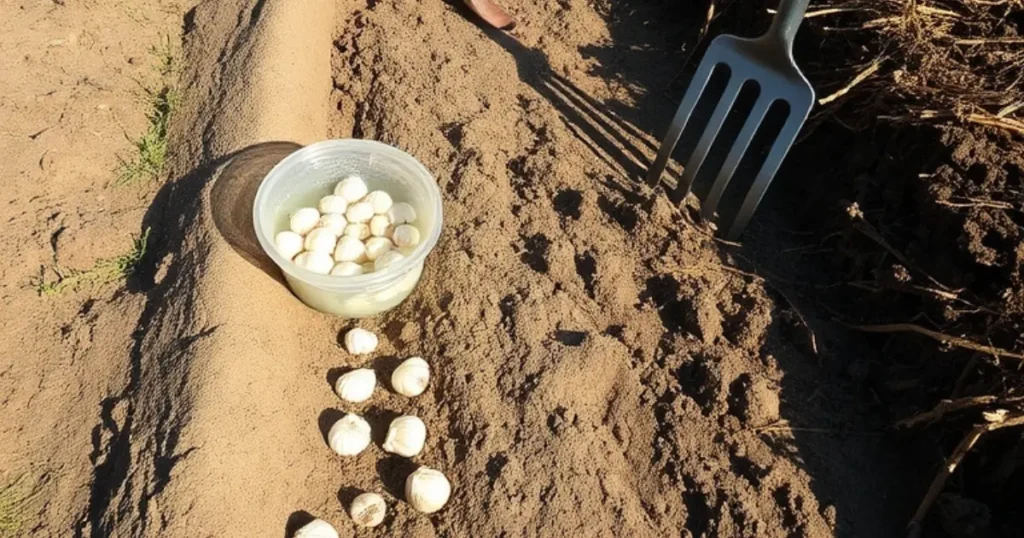
When learning how to fertilize your garlic crop, you’ll find that results depend not just on the product but also on your preference, timing, and method. In my garden, I’ve tested everything from sea magic seaweed, baking soda soaks, and organic sorghum sudangrass seed, to manure and liquid feeds like fish emulsion. For better vegetative growth, bulb strength, and larger yield, I began soaking garlic cloves in a garlic fertilization soak of baking soda and water based fertilizer—about 30 minutes before planting—or even longer but never beyond 3 days, or tendrils and roots may form and become damaged, which can stunt the plant. A study from an experimental farm in Egypt confirms this soak boosts clove size, bulb size, and leads to better harvest time results. Use seed stock wisely, and mix your own or add fertilizer before planting—especially in fall or spring—for a strong nutritional foundation. Incorporate into the soil about 3–4 inches below the planted clove using a tractor, fork, or by hand. A bed of composted manure, or granular fertilizer broadcast across the garlic bed, can be topped with mulch, including straw or shredded leaves, to conserve moisture and keep nutrients from washing away. If spreading fertilizer, use methods like side dressing, broadcast motion, topping off soil, or topdressing, and follow recommended fertilizer rates to avoid excess compound that could burn or damage plants, especially at high concentrations or if applied incorrectly. During spring amending, dig a row 3–4 inches away and sprinkle granular fertilizer, then water in. For liquid feeds, dilute as per package instructions and pour around the base of plants every few weeks. Whether you’re new to gardening or already experienced, understanding the type of product, choosing to mulch properly, and using techniques like learning how to mulch plants truly makes a world of difference.
Final Feeding Tips for Bigger, Healthier Garlic
For big garlic, I start planting large cloves from the autumn harvest into rich, well-draining soil, well spaced 6 inches apart, under full sun with at least 10 weeks of cold weather exposure below 45°F for proper growth and strong roots. I mix in compost, well-rotted manure, and add bone meal to boost phosphorus for bulb development, along with blood meal in early spring to fuel leafy growth through its nitrogen, resulting in vigorous green growth and larger bulbs. Keeping the soil fertile, moist but not saturated, and topped with mulch to retain moisture and insulate is the best approach, and I make sure to fertilize lightly in the fall, then feed again when spring arrives. Once lower leaves turn yellow, I stop watering, remove scapes or flower stalks, and harvest when the lowest leaves wither—this timing ensures the largest bulbs by early summer, especially if you avoid waterlogging and keep consistent moisture throughout the season.
