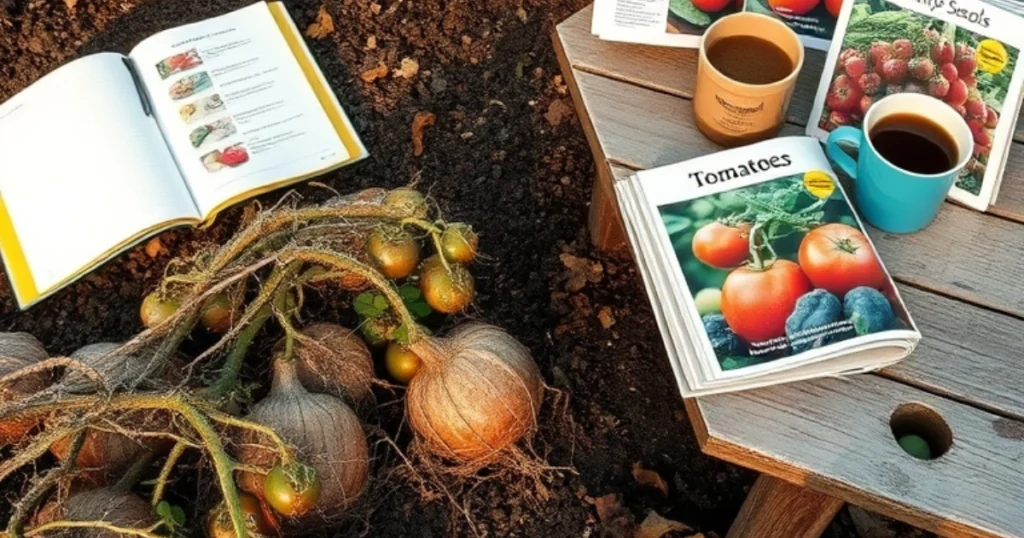
A Simple Start to Growing
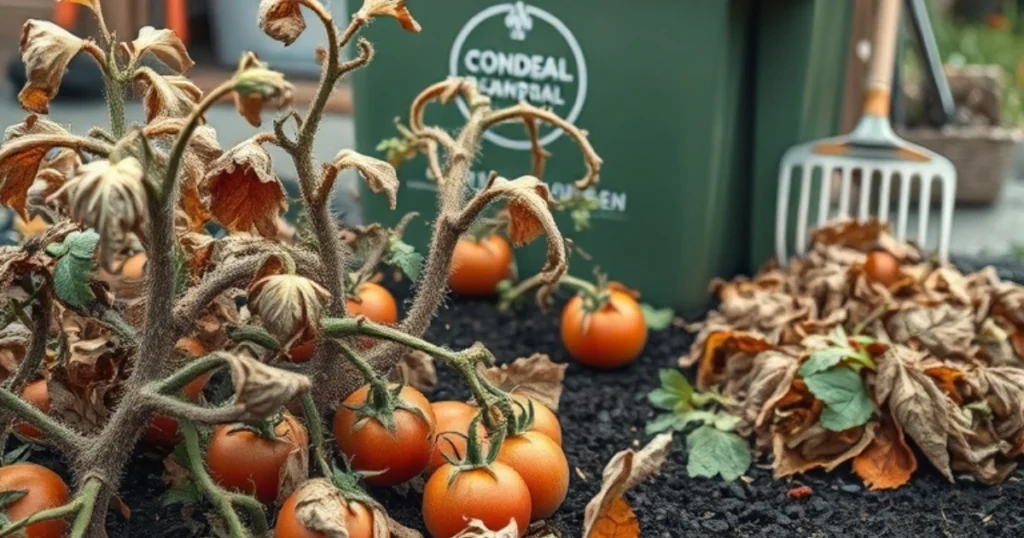
Growing the perfect tomatoes has always felt like a mix of care and learning for me. As a Midwest gardener, they’ve become the heart of my garden, and even when things didn’t go well, I kept trying. Some years are strong; others teach hard lessons. I’ve had trouble with bugs, disease, and bad weather, but through each growing season, I picked up better strategies and found what works. What helped me most was to keep things cleaned up—dead plants or old remnants left behind can turn diseased, and that can kill your chances next time. In the fall, after the first frost, I now remove everything completely and skip tossing them in my compost pile. I let my city pick-up service handle it—their composters get hot enough to burn the bad stuff. Picking the right seed, starting fresh after winter, and reading through catalogs is a boost. Whether you’re a beginner or not, these small steps will help you gain real confidence, plus open the door to the best future harvests. Even when you’re just working with a few vegetables, each crop is an opportunity to do better. And nothing beats flipping through those pages, planning for next year’s homegrown win.
1 Sunlight Secrets: Growing Tomatoes That Burst with Flavor
If you want to grow the perfect tomatoes, one thing I’ve learned over the years is just how important it is to give them the sunniest location possible. Think about the spot in your garden where the sun hits hardest—your tomatoes will thank you. Being sun lovers, they crave every ray they can get, and in return, they’ll produce more fruits. I remember planting them once in a shaded corner of my vegetable patch, and the results were underwhelming—small yield and flat flavor. The next season, I moved them to a brighter spot, and it made all the difference. More sun doesn’t just mean bigger harvests; it also deepens the flavor and improves the color. So, treat your tomatoes like royalty and give them every bit of sun they can soak up. Trust me, it’s the real secret hiding in every well-loved vegetable garden.
2 Nourish Your Tomatoes with the Right Fertilizer
One thing I always tell new gardeners: if you want juicy, flavorful tomatoes, start by treating your soil right. Tomato plants are known to be heavy feeders, which simply means they require a steady flow of nutrients to truly thrive. In my experience, using good quality soil filled with organic matter is the baseline. But what really takes it a level up is making regular applications of a fertilizer made specifically for tomatoes. I’ve seen a clear difference in the yield and health of my plants when sticking to this approach. Feed them what they’re hungry for, and even a small backyard plot can deliver baskets of vibrant, tasty fruit.
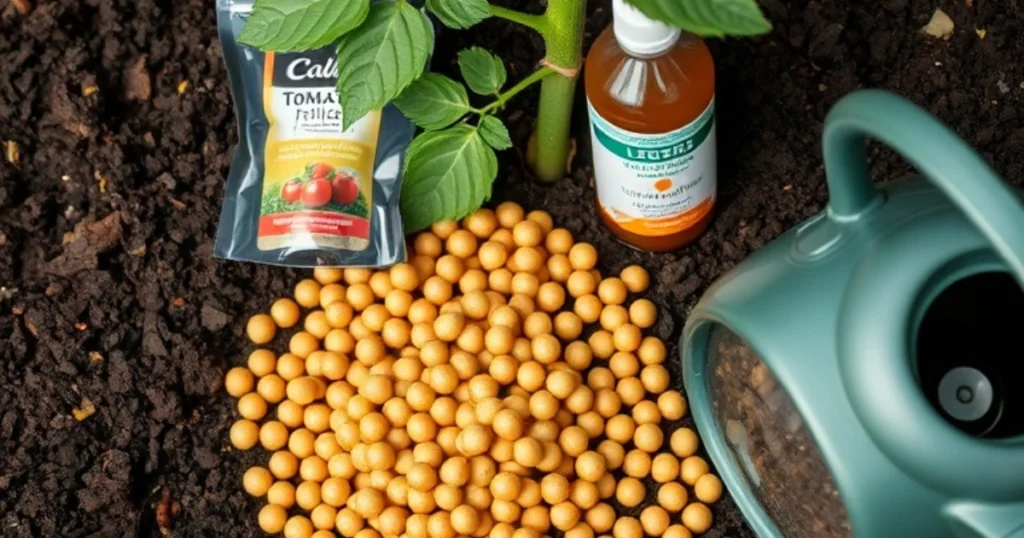
3 The Right Diet for Vibrant Tomato Plants
If you’re wondering why are my tomato plants turning yellow, it usually comes down to poor feeding and bad soil. From working in my garden over the years, I’ve learned that tomato plants are heavy feeders that require steady care. Start with good quality soil, and mix in natural ingredients like worm castings and compost tea to boost the nutrients. I always add a fertilizer specifically meant for tomatoes once a week, or use a general-purpose mix that’s water-soluble when it’s more easily available—both are easy to use with regular watering. These applications help the plants not only absorb more water but also give real, visible benefit to the fruit’s size and color. With this approach, your tomatoes grow fuller, brighter, and taste far better straight off the vine.
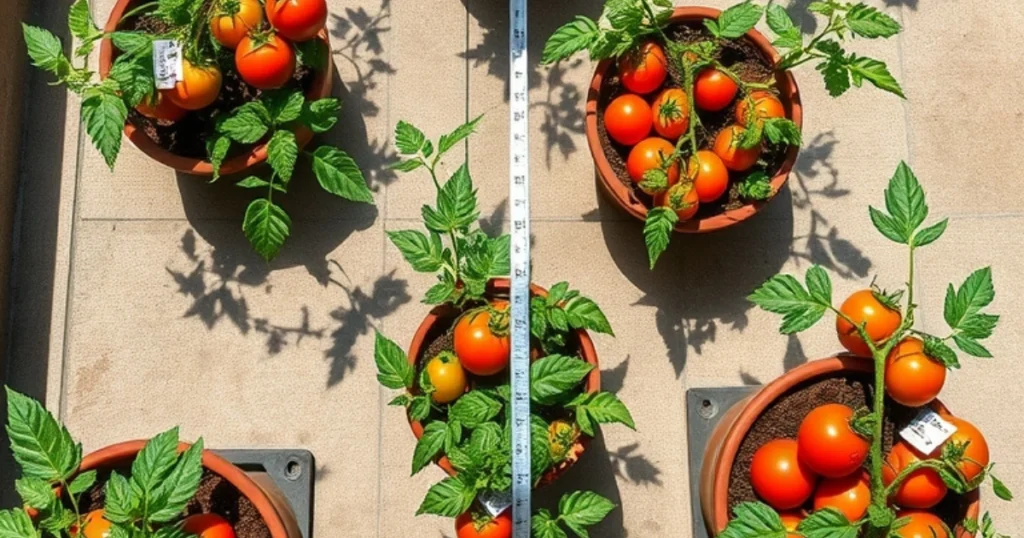
4 Strategic Spacing for Maximum Yield
Over the years in my own tomato-pot garden, I’ve learned that one core secret in how to care for tomato plants is giving them room—more than you’d ever imagine. When planting tomatoes, resist the urge to crowd your plants, even if they look small at first. Trust me, they grow shockingly fast and can become huge, especially in rich, healthy soil. That’s why I always plant a single tomato in a large, 24″ diameter pot or ensure enough spacing in the ground or a raised bed. This setup brings in more light and prevents the fruits from sitting in shade or dampness all day. This technique isn’t just about aesthetics—it’s about protecting your plants from being susceptible to diseases like blight that thrive in crowded conditions. I always follow the tags that come with tomato seedlings—they’re there for a reason. They help you trust the process and avoid future problems. By providing enough breathing room, your tomatoes will not only get bigger but stay healthier too. This simple move changed the way I garden and greatly improved the look and health of my tomato yields.
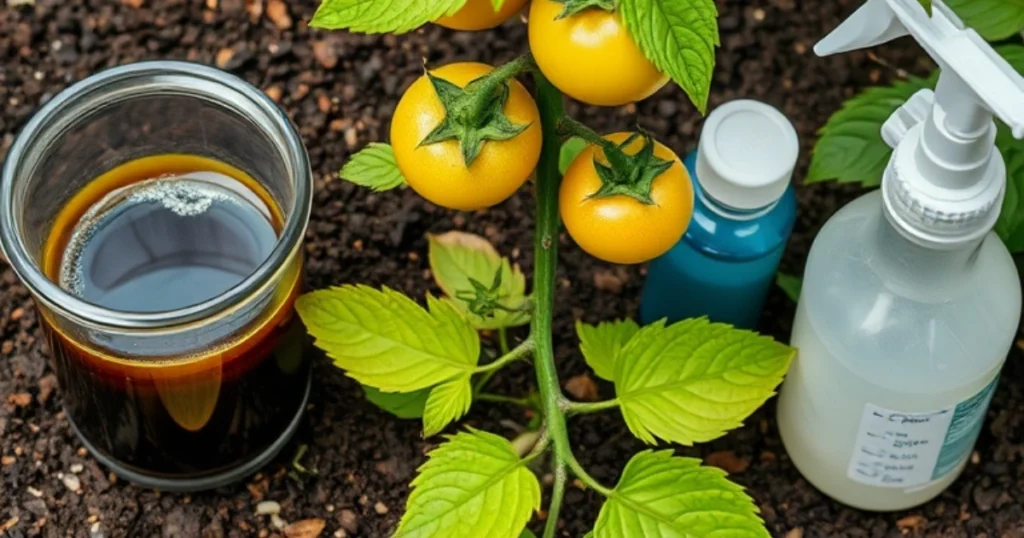
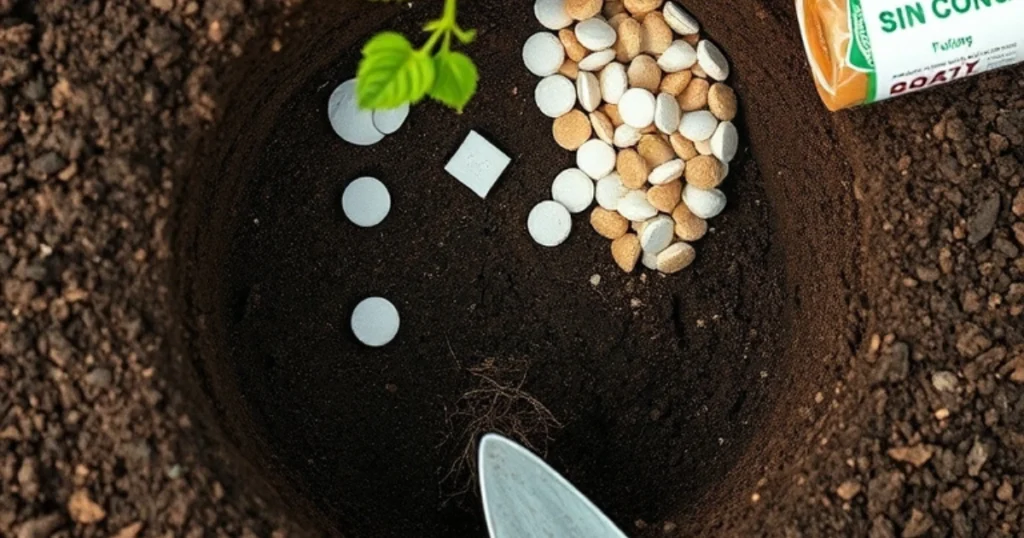
5 My Favorite Planting Hole Supplements
One handy trick I always mention in my tomato growing guide is using odd but effective items in the planting holes—things most folks wouldn’t expect. Over time, I’ve tested a few gardening practices based on both myths and legends. While some insist on tossing fish heads or banana peels into the hole before planting, my go-to method includes egg shells and even mint-flavored antacids. It may sound unusual, but combining them with a solid tomato fertilizer has helped keep blossom end rot away and makes my tomato plants incredibly happy. Whether it’s truth or just legend, adding a little bit of everything can make a big difference when growing strong, healthy tomatoes from the very start.
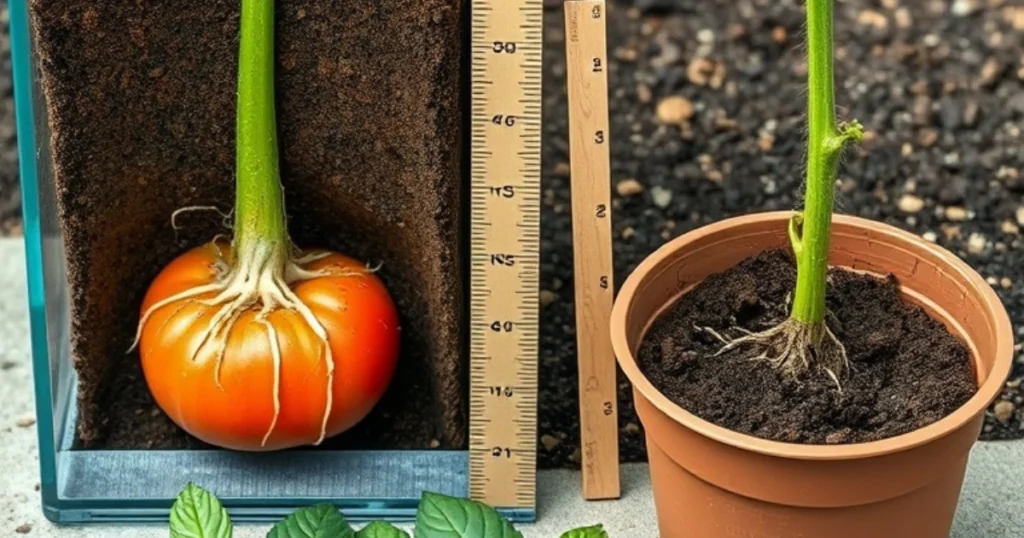
6 Break the Rules: Plant Deeper
One bit of advice for growing tomatoes that changed my gardening game is learning to plant tomatoes much deeper than I ever thought was okay. Unlike other plants, tomato transplants should be planted so that most of the stem is actually buried in the soil, with just the top few leaves sticking out. It might go against what you’d expect from typical nursery instructions, but I’ve seen amazing results doing this. Straight out of the pot from the nursery, I take each plant, trim off the lower leaves, and set it deep into the ground. This helps the tomato develop strong roots up and down the part of the stem that’s under the soil—something that really boosts the overall health and productivity of your crop.
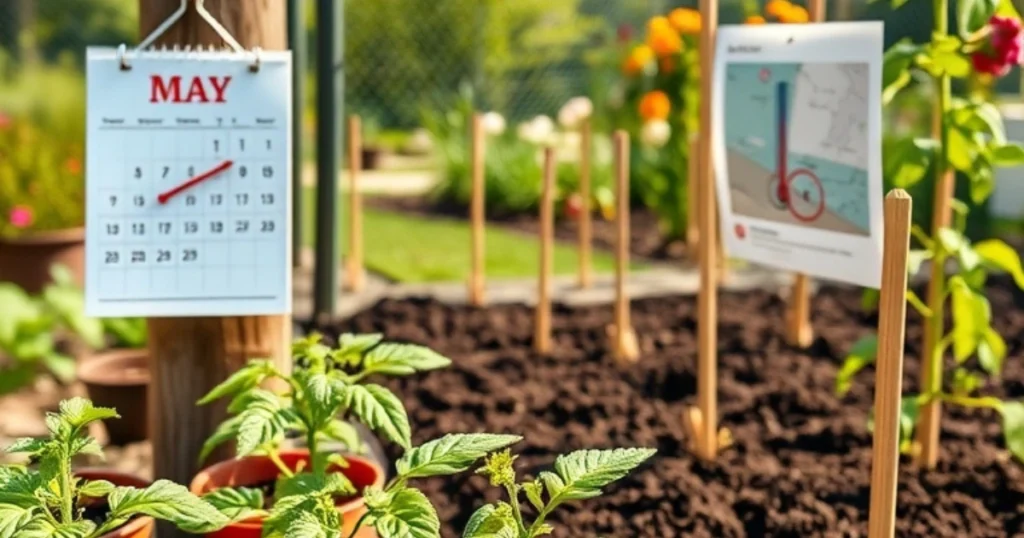
7 Get Your Timing Right
One thing I always stress when people ask when do I plant tomatoes is that timing truly makes or breaks your harvest. Tomatoes are warm-season crops, so they should only be planted after the risk of frost has passed—usually around Mother’s Day if you’re gardening like I do in USDA Zone 5. Even then, keep an eye on the forecast before you plant. I personally like to transplant my tomatoes right around May 1st, a sweet spot between Spring and Fall planting times. That way, I avoid early pests like aphids and stay ahead of the Eastern Leaf-footed Bug plague later. I also get a head start on my canning and freezing before the bugs show up. I grow both determinate and indeterminate varieties to make sure I produce steadily throughout the growing season, and this schedule keeps the rest of the garden thriving too.
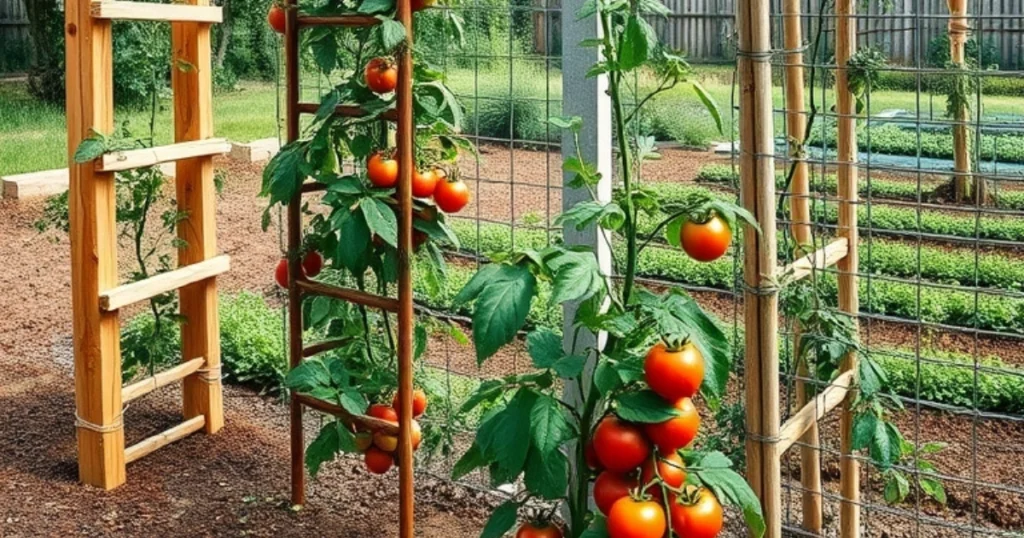
8 Give Your Tomatoes the Structure They Need
In my own garden, I’ve learned that if you want your tomato plants to thrive, don’t let them sprawl on the ground—they need strong support right from spring. The trick is to plan your planting around how your plants will grow, especially in rows if space allows. I always use a mix of trellises, fencing, or concrete wire tomato cages depending on the size and height of the variety. For the larger fruits, I prefer a tomato-pot backed by a garden trellis vegetables setup, combining wire and bailing wire to give extra stability in case of a thunderstorm. Each leaf needs room, and keeping them off the dirt helps avoid infections, while also preventing surface roots from damage. I add a cage early—especially for varieties that grow tall—using a well-fixed fence post and thread to hold everything in place without root disturbance. Honestly, I’ve found tomatoes grow much sturdier when trained up a trellis, with proper circulation to every plant part.
9 Smart Mulching for Healthy Tomatoes
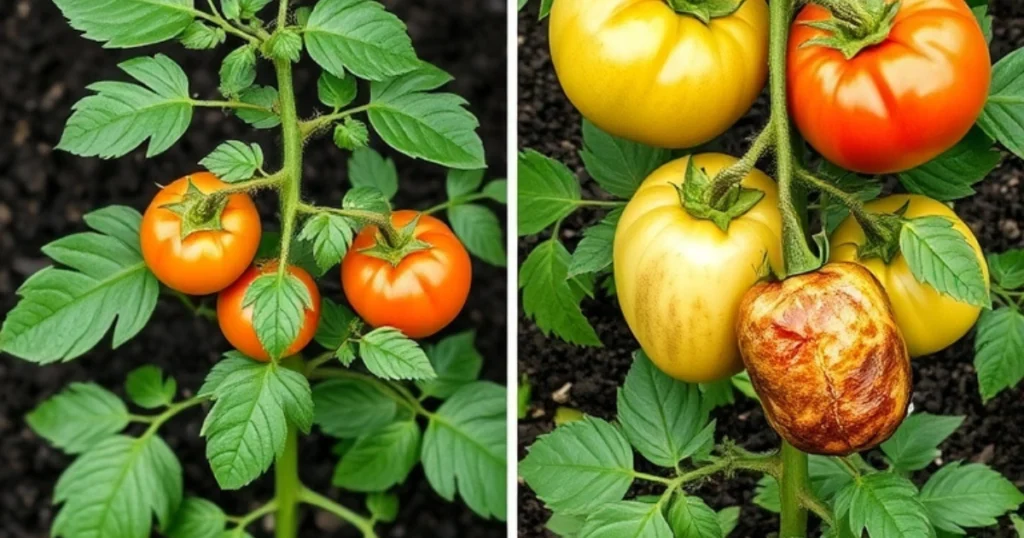
One thing I’ve learned from tending a vegetable garden for over a year is that a rich, healthy tomato corner starts with the right foundation — mulch. A layer of straw, wood chips, or even pine needles, about 2-3 inches deep, does more than make things look tidy. It helps keep soil moist, which is a MUST to prevent issues like blossom end rot later in the summer. When you know where to use mulch, especially at the base of the plant, you’re winning half the battle. It’s smart to pull back the materials about an inch from the stems, though — that avoids stem rot which can slowly wither and kill your plants.
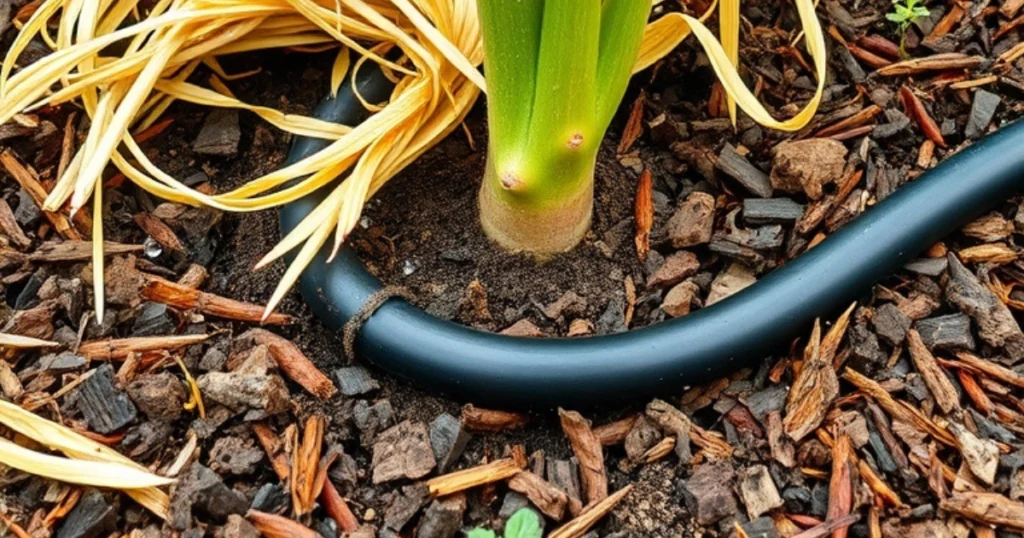
On hot days or after heavy rain, mulch becomes your tomato’s best friend. It prevents weeds, stops bare soil from cracking, and provides a natural shield against soil-borne diseases by stopping splashing from hitting tomato leaves. I’ve watched some beautiful plants outgrown their early Kozy Coat protection only to suffer when there’s no mulch in sight. And trust me — once you’re stuck picking up tomato cage parts from toppled plants, you’ll wish you invested in organic mulch early. Using soaker hoses under the mulch is another bonus point for keeping soil healthy. Even a tall potato won’t get the same moisture retention benefits if the mulching is skipped, making it a normal reason for plant failure. So, whether it’s wood mulch or natural straw, covering bare soil isn’t just about looks — it’s about tomato survival.
10 Master the Art of Consistent Watering
Getting the best tomatoes starts with proper growing tomatoes watering habits. I’ve seen how irregular care can lead to blossom end rot, cracking, and splitting, mostly caused by calcium deficiency and inconsistent moisture. Tomato plants are sensitive to changes, and even slight shifts in watering can cause leaf curl, rot, or make them prone to pests, disease, and a poor root system. It’s essential to avoid uneven watering—like getting a lot one day, then little the next few days—that combination weakens the plant fast.
I water every day, and when the temperature goes above 25 degrees Celsius, I water twice a day, especially for planted pots that dry out quickly. The goal is about 1 inch a week, always at the base and soil level for a slow soak. I check the weather daily, and if natural rain isn’t promised or doesn’t come, I act as soon as possible. A rain gauge is extremely helpful to know if you got enough or need more—don’t skip it. I learned this the hard way, but once I followed a steady schedule, I saw juicy, good fruit, stronger production, and even reversed early blossom end rot in just two weeks with a simple process. Also, using proper planting distance garlic improves spacing and reduces competition, making water management easier and more effective.
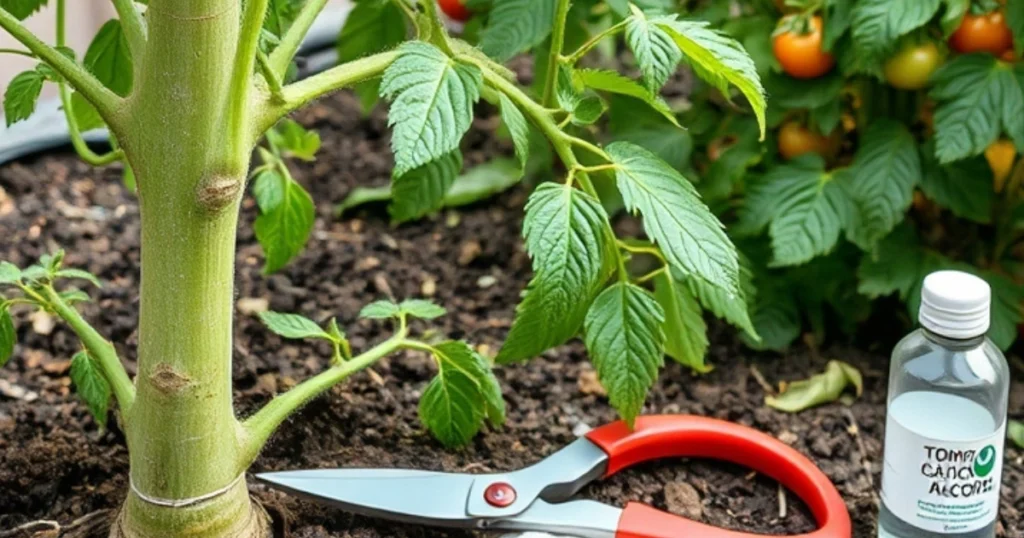
11 Why Proper Pruning Matters
Growing tomatoes in GA taught me that regular pruning is an absolute MUST for healthy plants and better fruit. Early on, I made the mistake of rotating crops on a small piece of land, thinking it would stop soil-borne diseases like blight, but unless you have acres, it doesn’t help. The real solution came when I began to prune once my tomato plant had grown about three feet tall—I’d remove a full foot of lower leaves using my favorite pruner, which always gets the job done right. This reduces splashing from soil during rain or storm, especially if you’re watering with overhead spray instead of directly at soil level, which can introduce disease or fungus. I also pinch off suckers from the crotch of branches to direct energy to the rest of the plant, making it more attractive, boosting ripening, and helping with harvesting. I’ve seen these same methods help with my bell pepper flower bed too. Clear air circulation and good airflow are key in humidity, so I always use clean tools—never dirty ones—to prevent problems from starting. These changes truly improved my plants and their ability to resist diseases in any country setting.
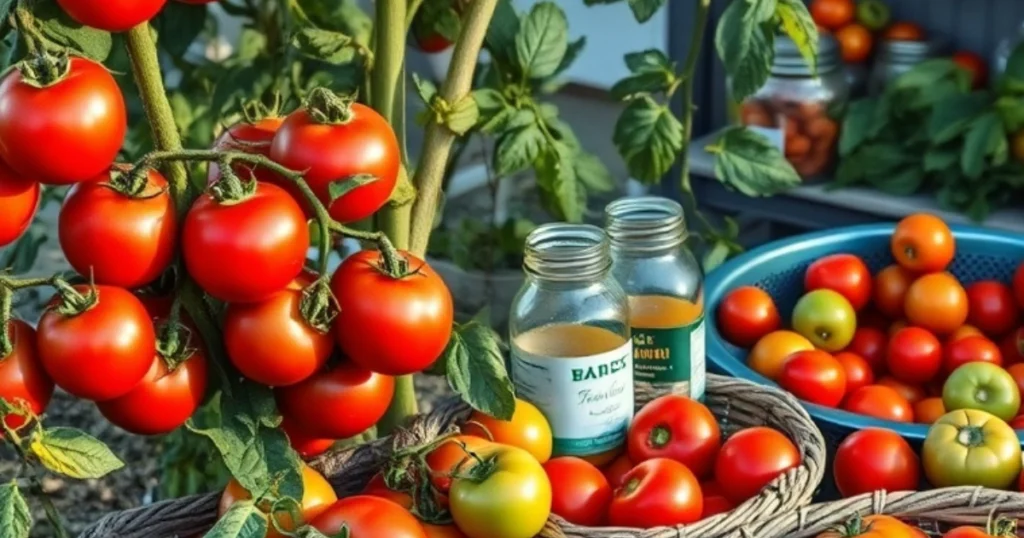
12 Smart Harvest Habits
One thing I’ve learned about growing tomatoes is that steady harvesting is just as key as proper pruning or soil care. In the peak of summer, I make it a habit to walk through my garden every morning with my baskets, ready to grab those juicy, vine-ripened fruits before the heat sets in. I love trying new ideas for using them—whether it’s fresh eating, canning, or freezing, there’s no shortage of options. Some of my all-time favorite recipes are tucked into the Harvest chapter of my book, especially the part on fried green tomatoes. Even when the fall frost creeps in, I make sure to collect the last batch to ripen on the windowsill. There’s a certain grace in watching your hard work pay off, especially when your success fills the kitchen with a plethora of flavorful delicacies. If you ever get the chance, try pairing them with a side of fractal broccoli—you’d be surprised how well nature’s design works on your plate. Every little step you take to maximize your harvest makes the whole process worth it, down to the smallest details of each vine.
Wrapping Up Your Tomato Journey
At the end of the growing season, I always cleaned up my tomato garden to prevent bad disease. Right after the fall frost, I start removing old plants quickly and completely. Over the years, I learned not to put remnants in my compost pile, because diseased bits can come back and kill future growth. In the city, big composters get hot enough to help with that—they’re large and hot enough to burn off the bad stuff. As a beginner gardener, these simple steps helped me gain confidence. Now I take every opportunity to learn, even by flipping through catalogs, picking my next seed for the best tomatoes yet. I still like trying fancy tricks, but nothing beats looking forward to perfect bites in next year’s crop.